%22%20stroke-width%3D%227%22%2F%3E%3C%2Fsvg%3E)

Your first day in Mongil
Mongil: Star Dive opens with a tutorial run that walks you through movement, basic combat, and your first capture before letting you loose on the open map. You can replay every prompt at any time from the in-game Help menu — that menu is the source of truth this guide draws from.
The early game has three loops happening at once: the Main Quest (drives unlocks), the Adventure Map (drives exploration rewards), and the Adventurer Level (drives system unlocks like Crafting, Cooking, Conquest, and the Dimensional Rift). Pulling on any of the three feeds the others, so a clean opening is to follow the Main Quest until each new system becomes available, then pause to collect the reward tied to that system before moving on.
- Save pointsWarp Devices
- On deathRevive at last activated Warp Device
- Fast travel costFree between active warps
- Help menu3 categories — Adventure, Battle, Contents
The Adventure Map and Warp Devices
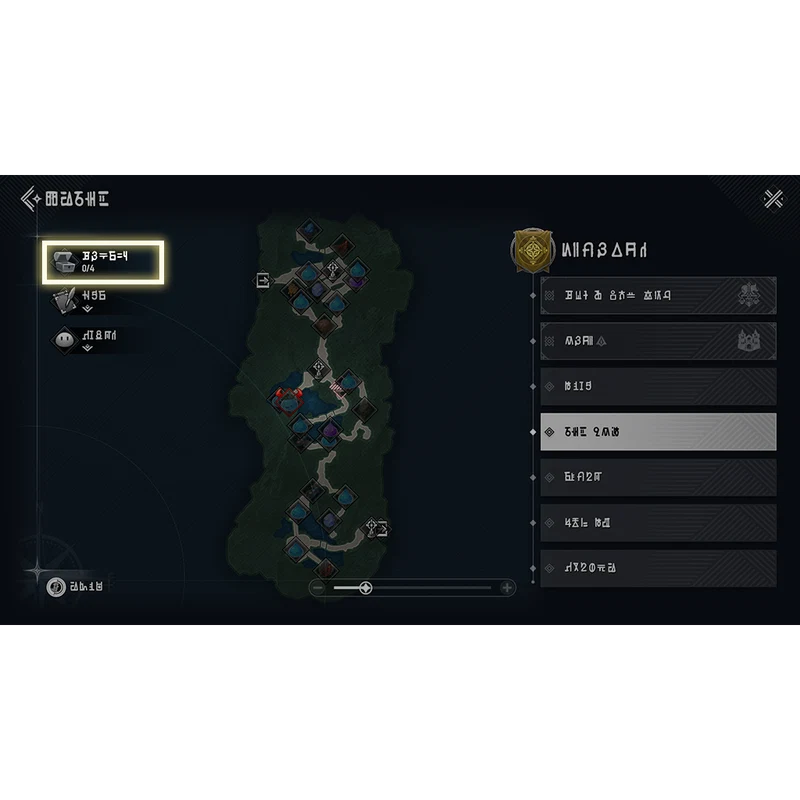
The Adventure Map shows the location of the active quest objective, every Warp Device you have visited, gates between regions, and the number of treasure chests that remain in each area.

Walk into a Warp Device to activate it. Once activated, it does three things at once: it unlocks fast travel to that point from any other active warp, it becomes a respawn point when your party wipes, and it acts as a free in-field heal — your characters revive and have their HP restored when you stand near an active warp. Treat unlocking the next warp as the priority any time you enter a new region.
Movement: jumping, sliding, wires
Mongil uses contextual movement — most of the platforming verbs only appear when you walk up to a specific terrain feature. The on-screen arrow prompt is the cue.
- Jumping — when you see an upward arrow near a ledge, your character can leap up to a high spot. The jump only triggers from the marked position; running off a regular cliff does nothing useful.
- Wires — interact with a wire device to be flung up to a high vantage point. Wires are the main way the map connects vertically; if a quest objective is above you, look for a wire icon in the area first.
- Sliding — on steep downhill slopes, your character automatically slides for a faster descent. Use this to cut travel time when the next objective is below you.
- Chasing — some quest segments hand you a chase mini-game where you switch between lanes left and right to dodge obstacles, with pickups that boost your speed.
- Infiltration — guards have visible sight cones. Stay out of them and reach the objective. If a guard senses you and you do not break their line of sight in time, the infiltration fails and you have to retry.
- Escaping — the inverse of chasing. You run away from a pursuer along a fixed path; getting caught fails the section.
Gathering, mining and treasure
The overworld feeds the crafting and cooking pipelines through three collection verbs:
- PlantsGathering — feeds Cooking
- Ore depositsMining — feeds Crafting
- ChestsOne-time rewards per region
- Gathering picks up plants you walk past. Most plant materials end up as cooking ingredients.
- Mining destroys ore deposits for crafting materials. Mining nodes respawn over real time, so it is worth tagging the ones you find on your route between objectives.
- Treasure Chests are placed in fixed positions across each region. The Adventure Map tracks the count remaining per region — it is the cleanest way to see how much of an area you have actually explored.
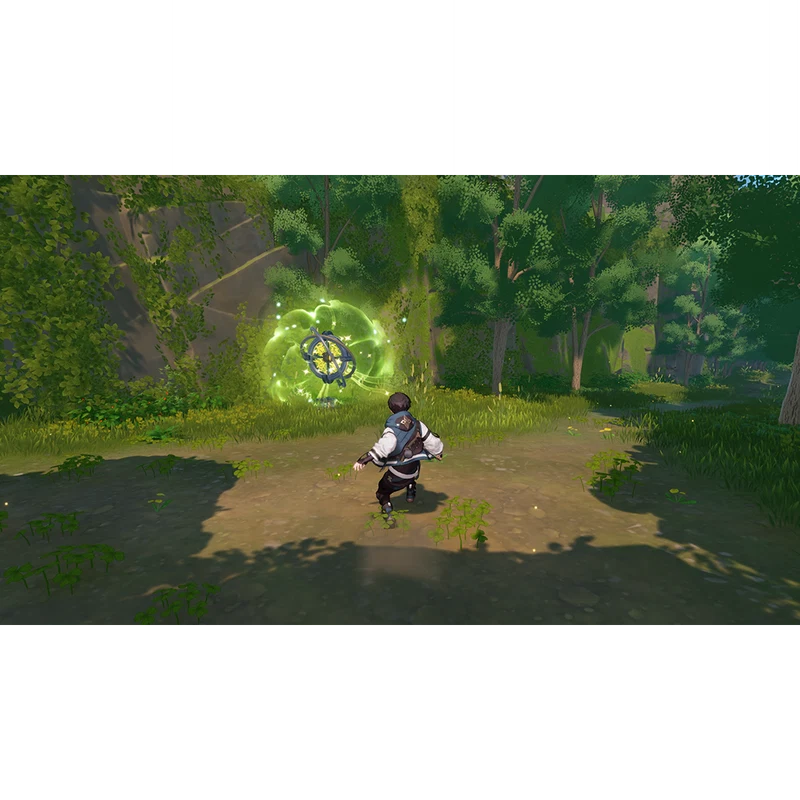
A side activity worth keeping an eye out for is Oz's Puzzles. The wandering wizard Oz leaves interactive Magic Tomes around the world; interacting with one starts a puzzle, and clearing it can lead to hidden treasure rewards.
Adventure Level rewards
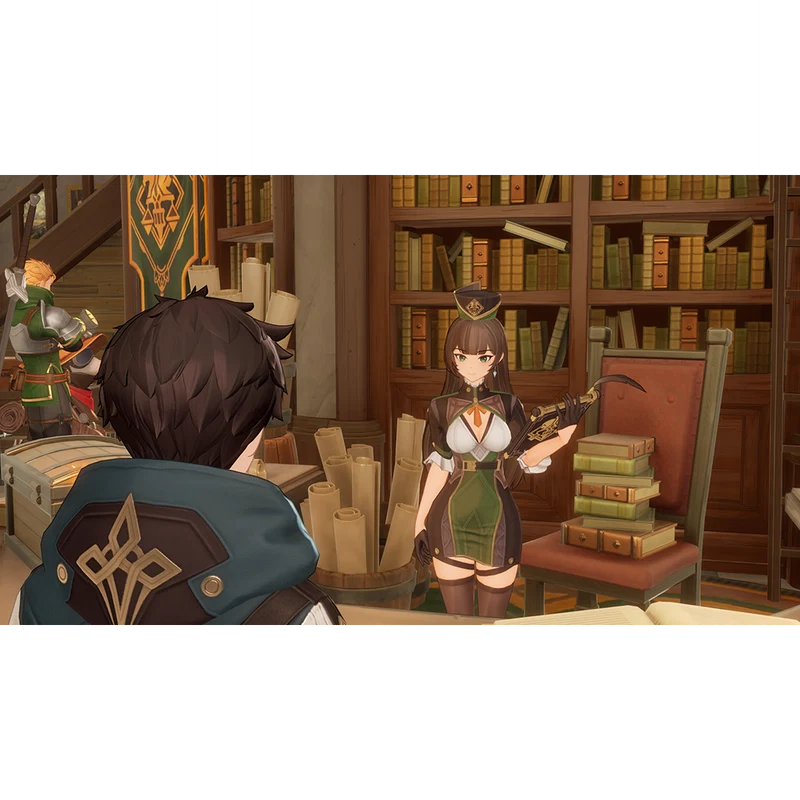
Your Adventure Level rises as you complete the Main Quest and other activities. Each level lets you claim an Adventure Level reward from the receptionist at the gathering hub. These rewards are one-time only — they do not auto-claim, so check in with the receptionist whenever your level ticks up.
First-week checklist
A clean opening run for any new account, in priority order:
- Finish the prologue and unlock the open map. Stop the Main Quest briefly each time a new system unlocks — Equipment, Monsterlings, Crafting, Cooking, Paths, Conquest — and clear the tutorial that ships with it.
- Activate every Warp Device in the regions you cross. Free fast travel pays for itself within an hour and the revive utility saves runs in boss zones.
- Mine and gather everything on your path. You will need ore for equipment crafting and plant materials for cooking buffs as soon as those systems open up.
- Push the Main Quest until you unlock the Dimensional Rift and Conquest. These are the two endgame loops — having them available, even before you can clear them, lets stamina/rewards from your daily play go where they will scale longest.
- Claim Adventure Level rewards from the receptionist whenever the level ticks up. They are not auto-collected.
 How this guide was researched
Every recommendation in this guide is written and re-tested in-game by the team. We play through the relevant content ourselves on a live account, confirm each mechanic and number against the most recent patch, and rewrite the guide whenever the game changes.
Last tested against Patch 1.0 on .