%22%20stroke-width%3D%227%22%2F%3E%3C%2Fsvg%3E)
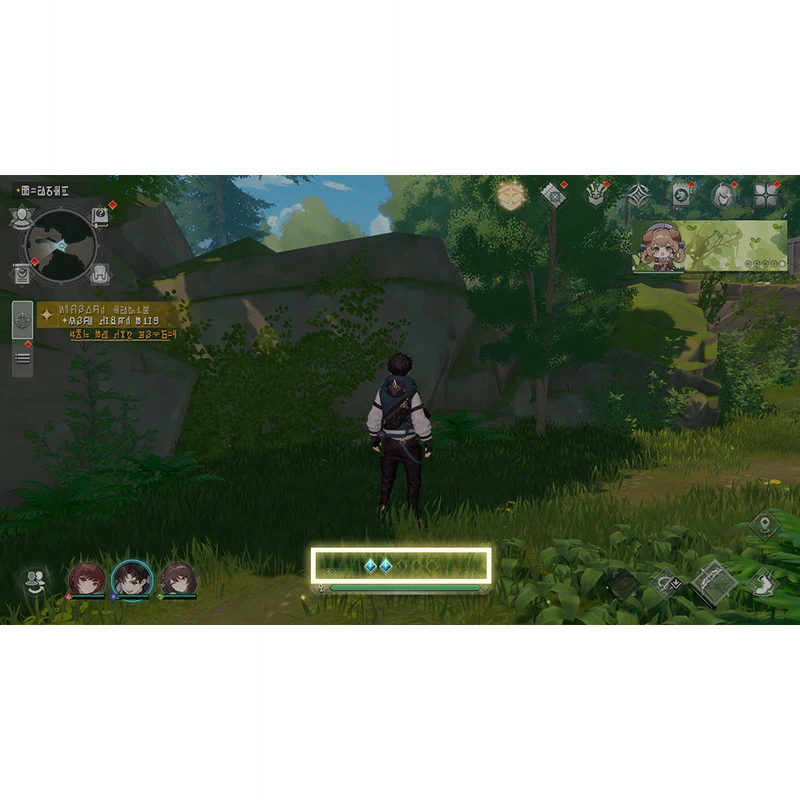
Hold Basic Attacks
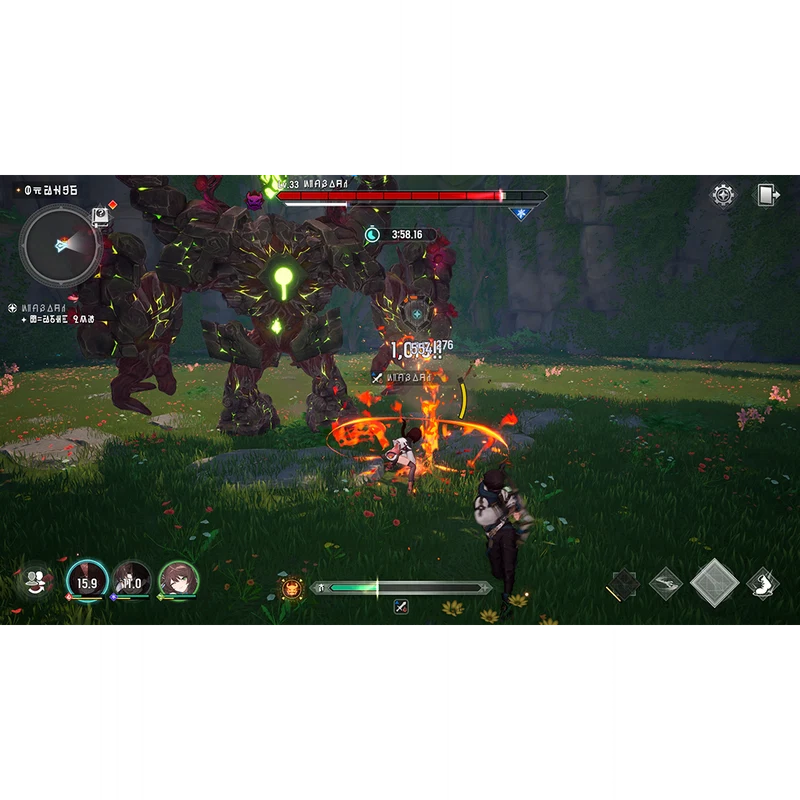
Some characters have a stronger version of their basic-attack string when you hold the basic-attack button instead of tapping it. The Hold variant consumes that character's unique resource (the bar that sits above the skill icons during combat), so it is not a free upgrade — it spends the resource the character has built from their tap-attack string.
Hold Special Skills
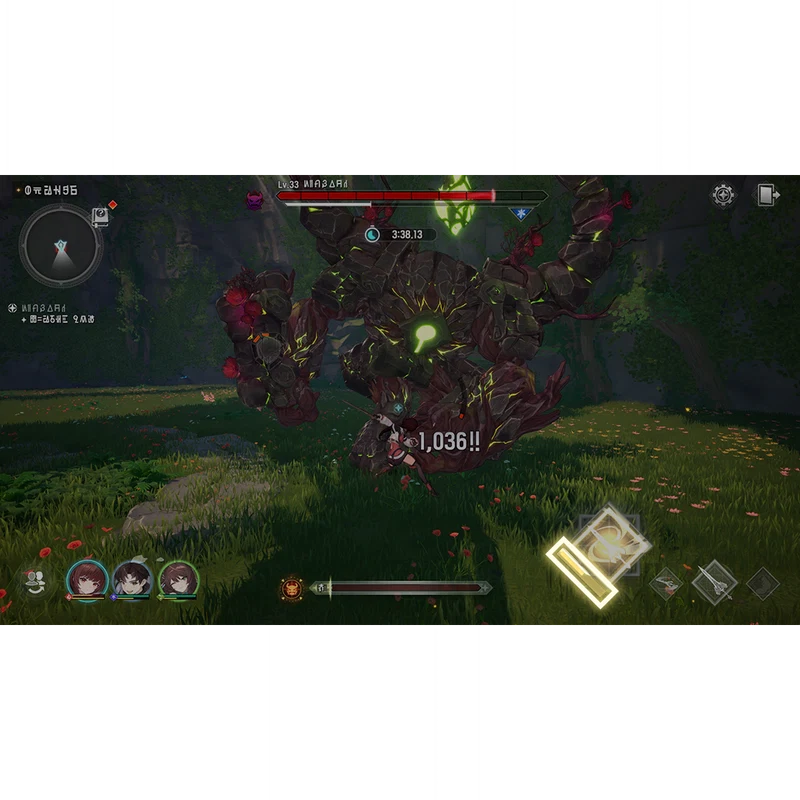
Special Skills can be tapped or held. Holding the button shows a guiding UI: a meter or bracket along the cast. Releasing the button inside the highlighted window — or holding the button all the way to the end, depending on the skill — triggers the powered-up version of the special.
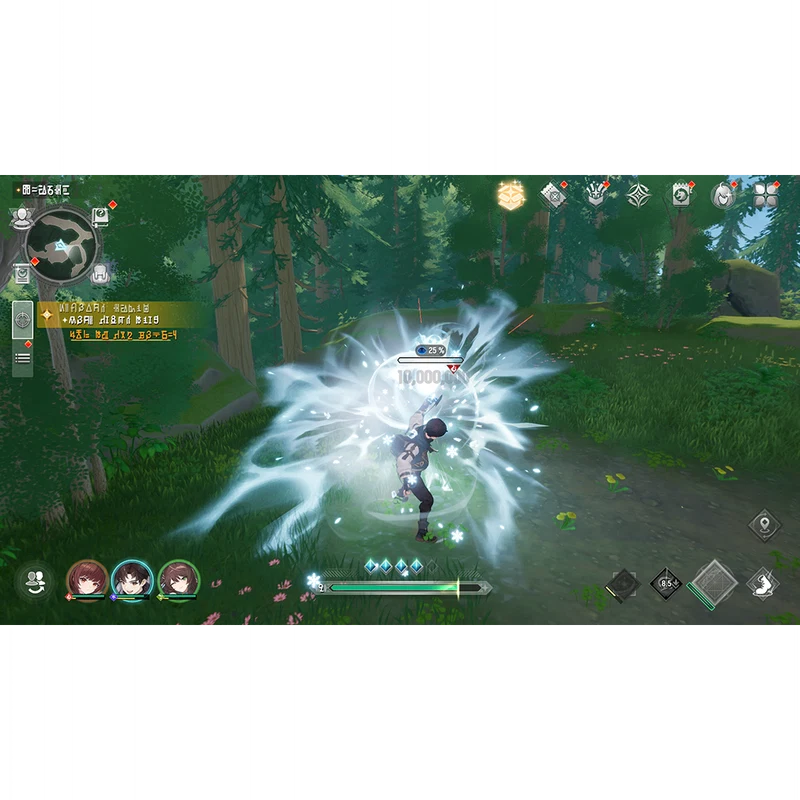
Read the on-screen UI before assuming a skill is hold-cancellable. Some characters have hold variants only on certain specials, and the prompt only appears for the ones that support it.
Extra-Input chains
A second pattern on Special Skills is the Extra Input chain. Pressing a special with this property opens a guide window with on-screen prompts for follow-up presses; mashing the button inside that window strings together a chain attack. The window is short, so do not wait for the animation to settle before queueing the next press.
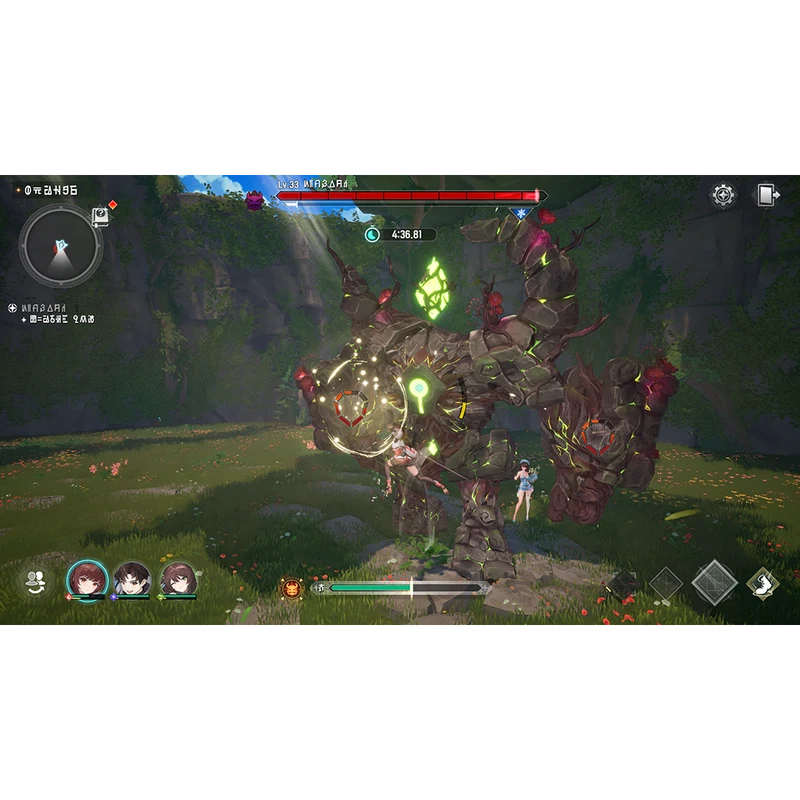
Air Counter
When an enemy launches your character into the air, an Air Counter icon appears on your character. Pressing the Dodge button while that icon is up triggers an Air Counter — your character snaps back to the enemy and counter-attacks instead of taking the slam.
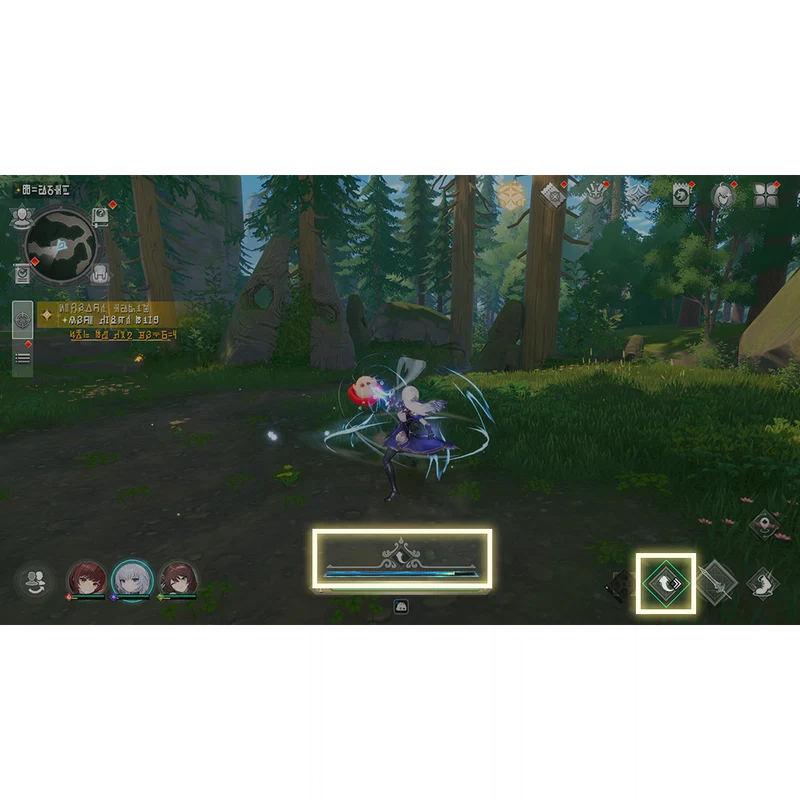
Switch Skills
Tagging in a teammate is not just a swap — it casts that character's Switch Skillas they enter. Some Switch Skills hit hard, some apply status, some grant the incoming character armor. Switch Skills also have a separate role in the Special Attack system: using a Switch Skill at the right moment to neutralise an incoming Special Attack resets the cooldowns of every teammate's Switch Skill.
Ultimate Skill
Landing attacks on enemies and applying status effects (to enemies or allies) fills the Ultimate Gauge. Once the gauge is full the Ultimate becomes available and can be cast like any other skill.
Because supporters fill the gauge from status applications, a team built around a Supporter and a damage carry tends to cycle Ults faster than a team of two attackers. Keep that in mind when planning rotations against bosses with predictable burst windows.
Putting a rotation together
Mongil's combat is not a strict combo game — every input above is independently available — but the highest-output sequence on a single character looks roughly like:
- Tap basic-attack string until the unique resource bar is full.
- Spend the resource on a Hold Basic Attack or a Hold Special, whichever your character's kit favours.
- If a Special with Extra Input is available, follow up with the chain inside the prompt window.
- Tag out via a Switch Skill that grants useful state (status, buff, or stagger pressure) and let the cooldowns refresh while another character builds their resource.
- Cash in the Ultimate Skill when the gauge is full — preferably on a staggered boss (see the Staggering and Bursts guide).
 How this guide was researched
Every recommendation in this guide is written and re-tested in-game by the team. We play through the relevant content ourselves on a live account, confirm each mechanic and number against the most recent patch, and rewrite the guide whenever the game changes.
Last tested against Patch 1.0 on .