%22%20stroke-width%3D%227%22%2F%3E%3C%2Fsvg%3E)
The Stagger → Nyanners → Burst loop
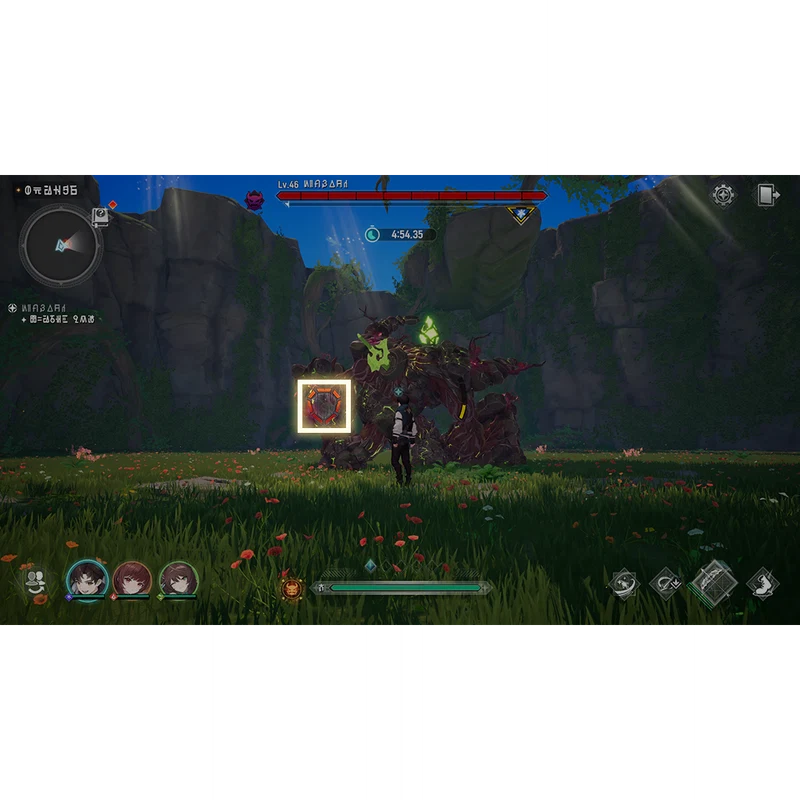
Stagger is the burst-damage system in Mongil and follows three beats:
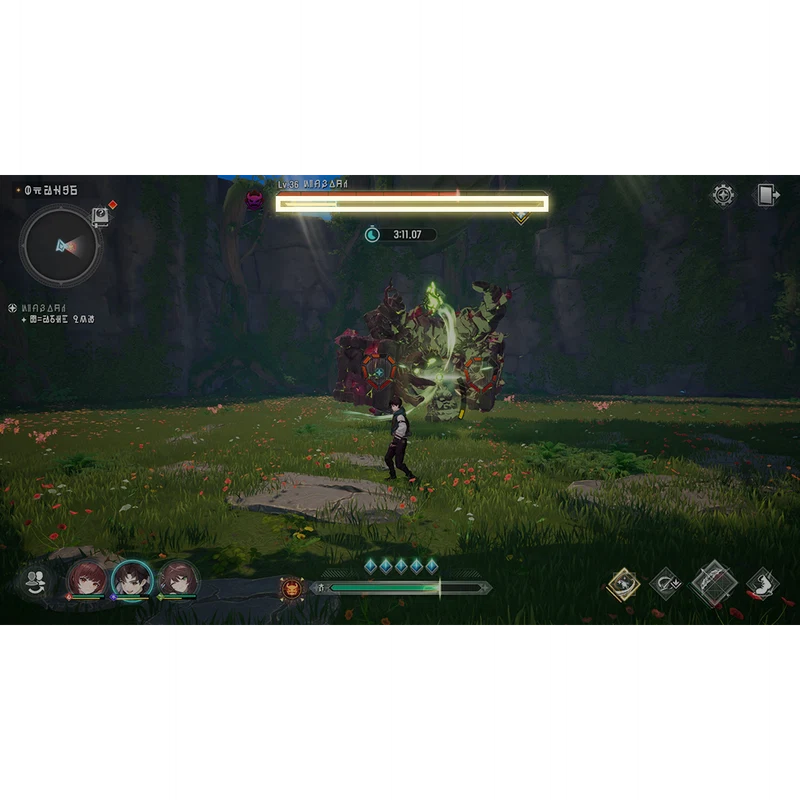
- Damage the boss until the Stagger Gauge below its health bar is full.
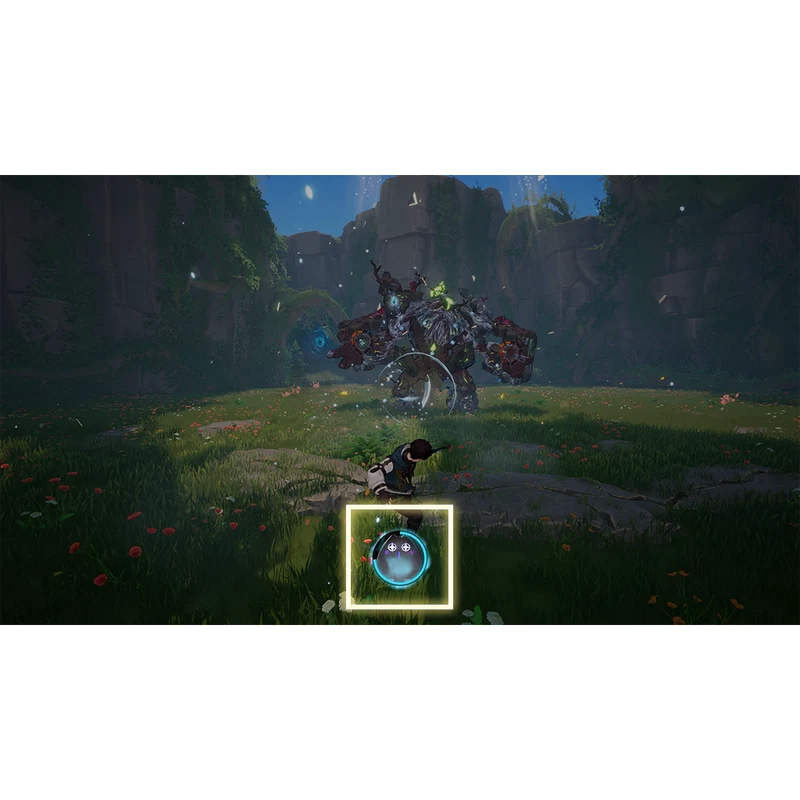
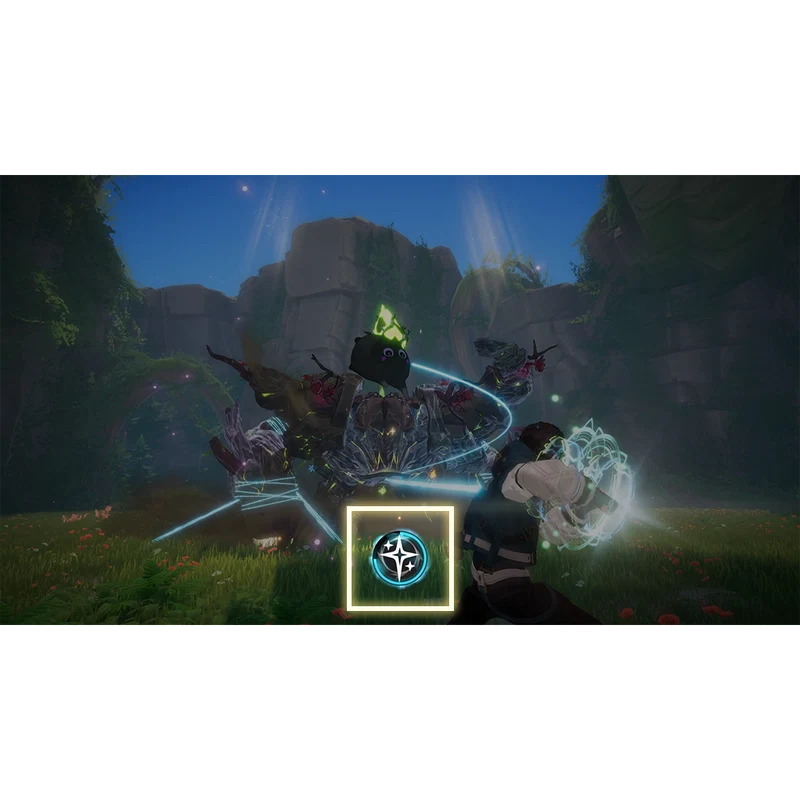
- With the gauge full, Nyanners's Skill becomes castable — there is a timer on it. Use it before the timer expires to summon Nyanners, who slams the boss into a Stagger state.
- While the boss is staggered (or during the follow-up Burst animation), every team member deals elevated damage. Slayer-class characters in particular receive a damage uplift specifically while a boss is staggered or bursting.
Why Destroyers anchor stagger teams
The in-game help text for the Stagger system spells out the role specialisation: “Destroyers fill the Stagger Gauge faster.” Slayers are the role that benefits most from the resulting stagger window: “Assassins deal more damage while a boss is Staggered or during a Burst.” (The codex labels the role Slayer; the legacy stagger string still uses the term Assassin for the same role.)
- Fills gauge fasterDestroyers
- Bonus damage on staggered bossesSlayers
- Trigger windowUse Nyanners before the cast timer expires
- Best Ult timingOn a staggered boss, with the carry tagged in
That gives a clean role template for any boss-killing team: one Destroyer to drive the gauge up, one Slayer to spend the window, and a third slot that scales with the rest of the encounter — usually a Supporter for Ult-cycle speed, a second damage element for matched weakness, or a Brawler with sustained attack-string pressure.
Part destruction
Some elite enemies have visible destructible parts — armour plating, weapons, tails, segmented limbs. Concentrate enough damage on a destructible part and it breaks.
Breaking a part has two effects: the enemy is temporarily incapacitated, and on bosses specifically, breaking a part awards a fixed amount of Stagger Gauge charge. So part-destruction isn't just an animation — it is a way to get the next stagger window early when DPS alone isn't pacing the gauge.
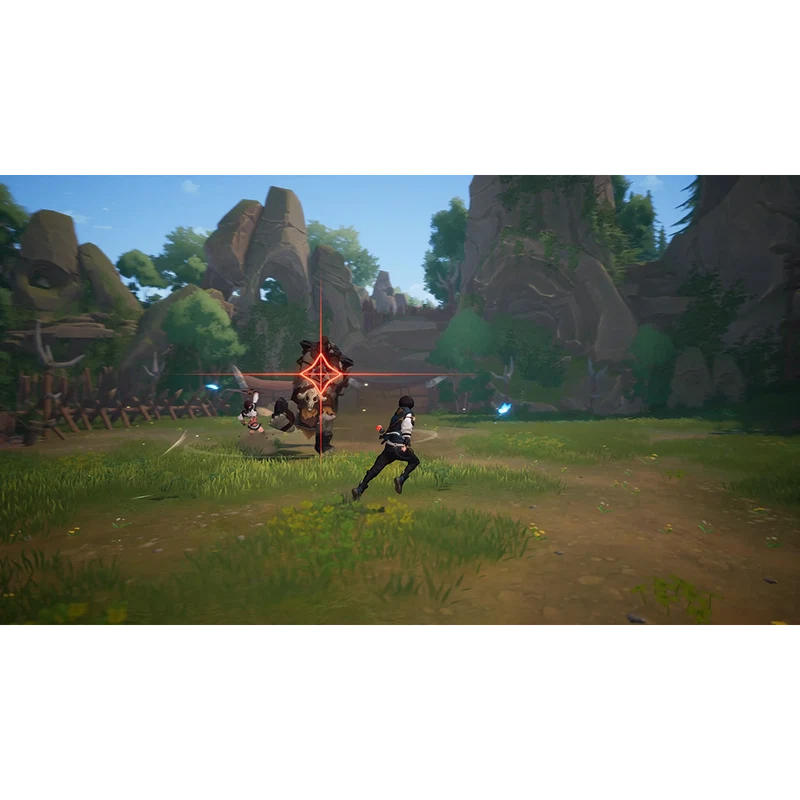
Special Attacks (yellow and red)
Independent of the Stagger system, monsters telegraph their high-damage moves with two glow tiers:
- Yellow glow — a Special Attack is incoming. You have two ways to neutralise it: dodge with the right timing, or use a Switch Skill at the moment of impact. Either input cancels the attack and resets every Switch Skill cooldown on the team.
- Red glow — a stronger variant. Evasion Counter does not trigger on red-glow attacks. The only answer is to evade them outright.
Stitching the full rotation together
- Open with the Destroyer to push the Stagger Gauge.
- On a yellow-glow Special, neutralise with a Switch Skill — every cooldown comes back, including your Slayer's.
- Break a destructible part if one is up to bank free Stagger charge.
- When the gauge fills, fire Nyanners's Skill before the timer expires.
- Tag in the Slayer during the Stagger and use the Ultimate inside the Burst window.
- Reset to step 1 with whichever character has resource banked.
 How this guide was researched
Every recommendation in this guide is written and re-tested in-game by the team. We play through the relevant content ourselves on a live account, confirm each mechanic and number against the most recent patch, and rewrite the guide whenever the game changes.
Last tested against Patch 1.0 on .